ETV Bharat / business

Last date to file ITR for FY19 is 30 September: Here's a step-by-step guide

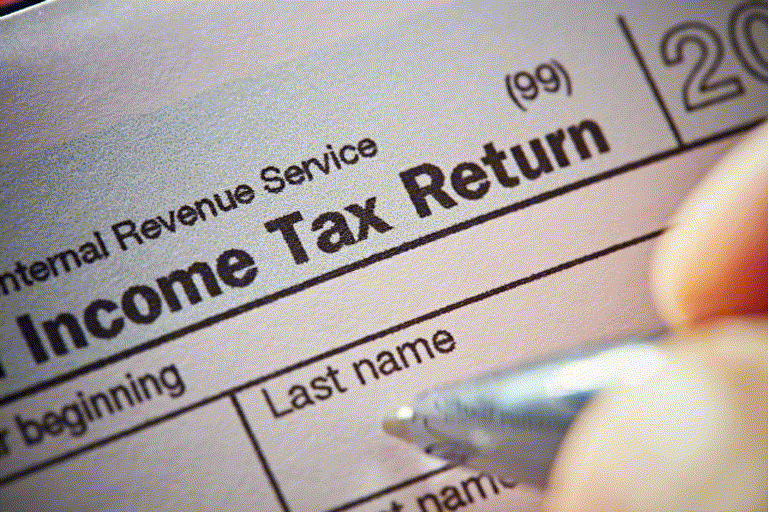
After two extensions given by the government earlier this year in March and June, the extended deadline of 30 September to file both original and revised tax returns for fiscal year 2018-19 is now fast approaching; If you haven’t filed your ITR yet, we have got you covered.

Last date to file ITR for FY19 is 30 September: Here's a step-by-step guide
author img

By

Published : Sep 28, 2020, 3:08 PM IST

Updated : Sep 28, 2020, 5:18 PM IST

Business Desk, ETV Bharat: The Income Tax Department had earlier this year extended the due date for filing of Income- Tax Returns (ITR) for FY 2018-19 (AY 2019-20) from 31 July 2020 to 30 September 2020 in view of the constraints due to the Covid-19 pandemic.

This was the third extension given by the government for taxpayers to file both original and revised tax returns for fiscal year 2018-19. In March, the due date was extended from 31 March 2020 to 30 June 2020. Later in June, it was extended by a month again till 31 July 2020.

Filing ITR is mandatory for any Indian resident who earns more than Rs 2.5 lakh of income per year from job, business, consultancy services, investments, rents or any other source (Rs 3 lakh for those aged 60 years and above).

Even if your income is below this threshold, filing ITR is advisable as it can prove to be an important document with verified details of your income at the time of availing loans, or for filing visa applications or even for property registration.

With the final deadline for ITRs for FY 2018-19 fast approaching now, if you are one of those who haven’t filed it yet and are panicking at the last minute, here’s a detailed step-by-step guide to help you complete the process. Make sure you have registered yourself on the e-filing website of the Income-Tax Department in case you are filing your ITR for the first time ever:

-- Collect all relevant documents that are needed to file ITR. These include Form 16, salary slips, interest certificates, documents showing capital gains/losses, rental income, dividend income, or any other document that shows any kind of income earned during the year and the taxes paid on it.

Read more: SBI rolls out festive offers for retail customers

-- Make sure all the TDS certificates collected by you – either from employer or from banks -- are in the TRACES format. Also, all the TDS certificates should be digitally signed. They will bear a check mark indicating that the signature is verified. Non-verified signatures on the TDS certificate will have a question mark over it. In that case, you will be required to verify it.

-- After collecting the documents, login to your e-filing account on the income-tax department’s website.

-- After logging in, click on the ‘Filing of income-tax return’ on the dashboard. Then, choose the assessment year (AY) for which you want to file the ITR. For fiscal 2018-19, the AY is 2019-20.

-- Then choose the correct ITR form depending on which category of taxpayer you belong to. In total, there are six ITR forms for individuals – ITR-1, ITR-2, ITR-2A, ITR-3, ITR-4 and ITR-4S. If you file your ITR using the wrong form, then it will be termed as a defective return and you will be required to file it again.

-- After you select and click open the form, you will see some pre-filled details. Verify them thoroughly. Prefilled details would be available for ITR-1, ITR-2, ITR-3 and ITR-4 for AY 2019-20.

-- Then start filling all other details using the documents you have collected. Make sure you fill the correct details under various heads of incomes, exemptions and deductions.

-- Verify and cross-check all the details on your TDS certificates with Form 26AS before you submit your return. Form 26AS is the tax passbook which would show all the details of the tax that was deducted from your income during FY 2018-19 and deposited against your PAN.

-- To download Form 26AS from the TRACES website, login to your account on the e-filing website, click on ‘My Account’ tab and select ‘View Form 26AS’. The website will redirect you to the TRACES website to give you access to the form. It is advisable to keep track of your Form26AS throughout the financial year to avoid any discrepancies at the time of filing ITR.

-- After cross-checking all details, you can submit and upload your ITR. This completes the filing stage. However, the return is also supposed to be verified in order to get it processed by the income- tax department.

Read more: I hold no assets outside India: Anil Ambani

-- The verification process has to be completed in the window of 120 days from the date of uploading the ITR. You can e-verify your return using an Aadhaar OTP or net banking. Else, you can download the ITR acknowledgement (ITR V) form and send its signed copy to ‘CPC, Post Box no. 1, Electronic City Post Office, Bangalore- 560100, Karnataka, India’.

-- If you verify your ITR electronically, then you will immediately receive the confirmation from the tax department regarding its verification. If you have sent ITR-V via post to the income tax department, then they will send you an email confirming that your ITR-V has been received and your return stands verified.

-- After the return is verified, the income tax department starts processing your ITR to ensure that all the details filled by you are correct and in line with the Income Tax Act and also cross-check the details filled by you with other data available with it.

-- Once the ITR is processed, the income tax department communicates the same to you through your registered email ID. In case discrepancies are found, they may ask you to explain further or correct the mistakes made while filing the original ITR.

Last Updated : Sep 28, 2020, 5:18 PM IST
ETV Bharat Logo

Copyright © 2025 Ushodaya Enterprises Pvt. Ltd., All Rights Reserved.